Tools preparation
When you're constructing a log house, keeping your tools in good shape is as important as the structure itself.
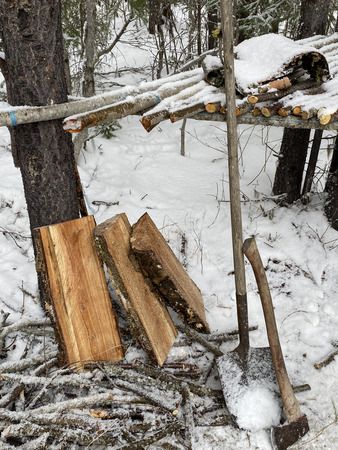
Temporary work bench
Creating a Ranchers Hatchet
Below is a quick recap of the process I used to build a small hatchet from scratch, plus a key lesson that saved me a lot of frustration.
1. Selecting the Head
I found a nice, lightweight axe head on a Recsite (a Recreation Site in Canada) that fit my needs.
2. Making the Handle
- Choose the wood - 1 inch birch was perfect because of its balance and grain direction.
- Mark the outline - With the grain in mind, I traced the handle's shape onto the board.
- Cut & Sand - I hand-cut the shape, then sanded it smooth.


3. Finishing Touches
- Olive oil was all I had, so I used it instead of linseed oil to protect the wood.
- I shaped the axe head with an angle grinder, then sharpened and polished it before attaching it to the handle.
4. Lesson Learned
After my first use, the axe's leading edge was too soft - it bent and broke.
Rule of thumb: Always perform a ding-sound-probe (tap the edge against a hard surface and listen for a clear tone).
If the sound is dull, the iron is not worth to invest more time.
A well-finished handle + a properly sharpened edge = a reliable, safe tool.
Don't skip the sound check - your future self will thank you.