Skip to content

2026

Building Two Nail-Free Saw Horses

I wanted to keep everything hand crafted and nail-free, so I built two sawhorses using only wood joinery.

Sawhorse Construction How it works
1 Stick-in-Leg Four round sticks fitted directly into the leg sockets. The legs simply sit in the holes; the weight of the horse itself keeps everything tight.
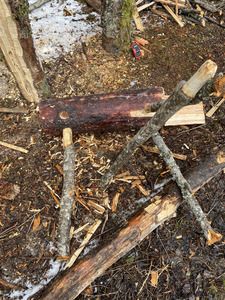
2 Dovetail Massive legs joined with a classic dovetail joint. This dovetail style lock is strong, requires no fasteners, and is even easier to craft and assemble than the first design.
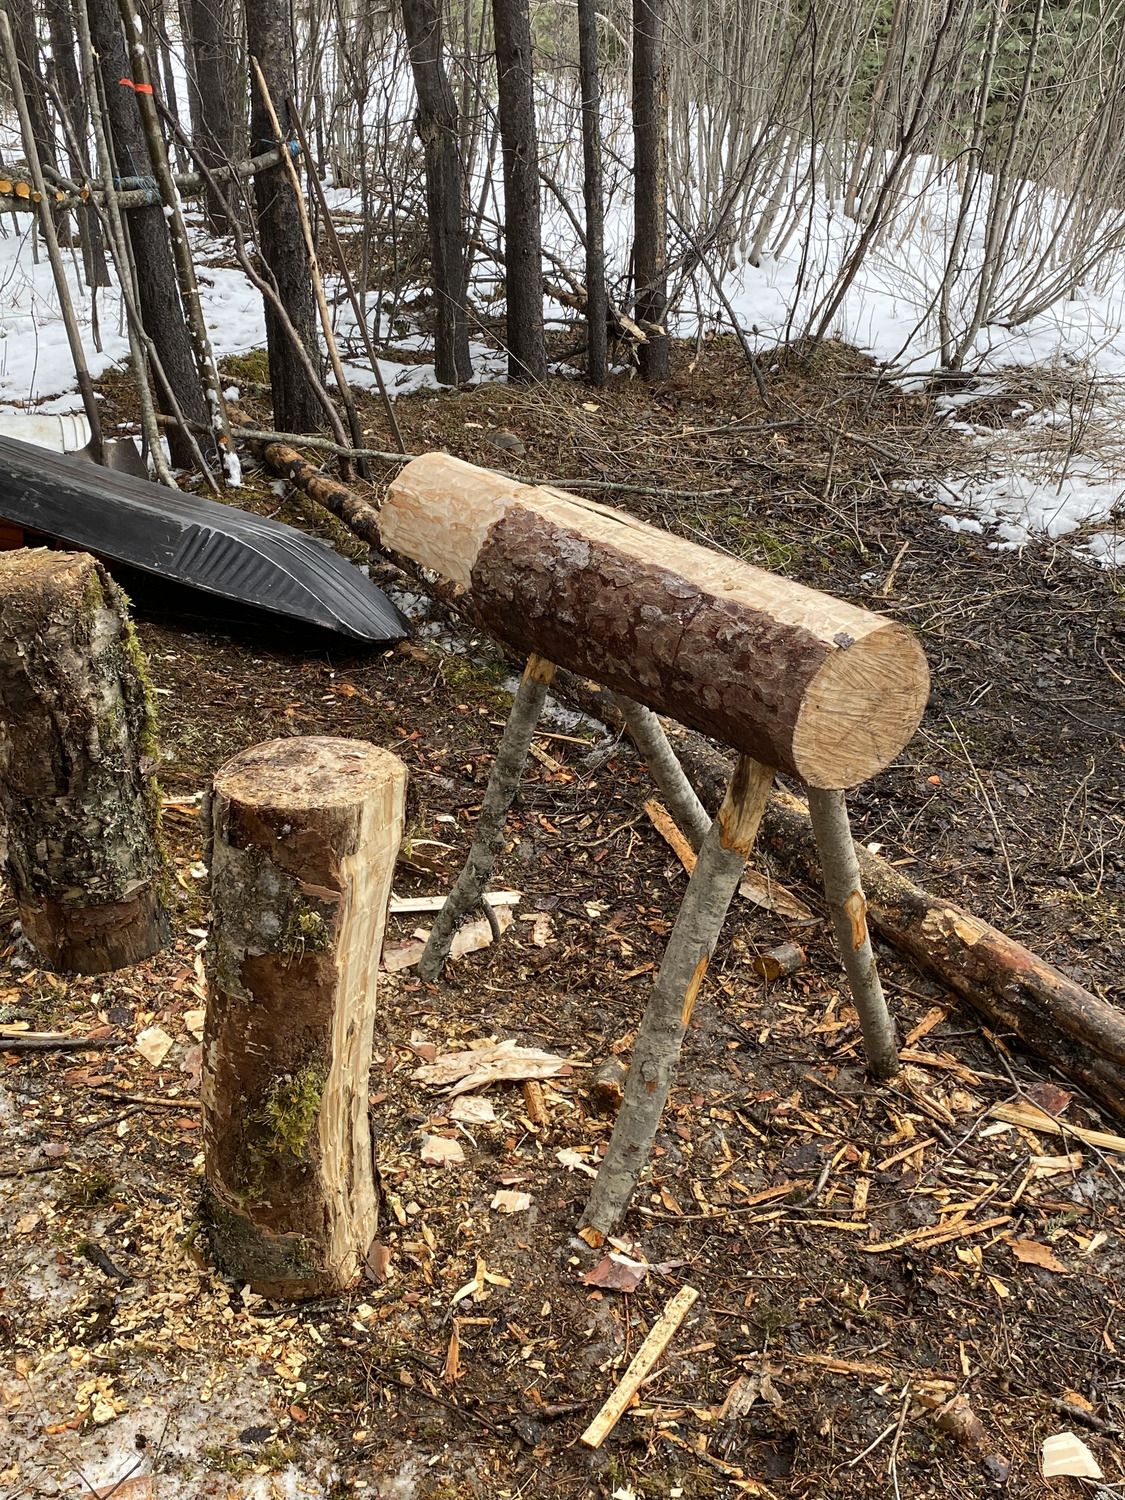
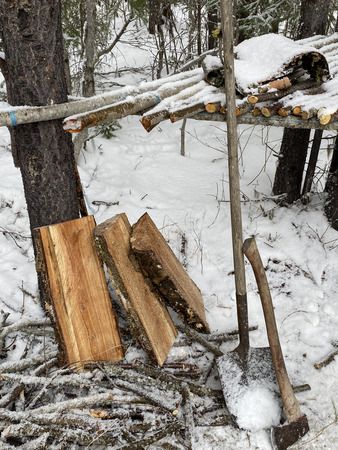
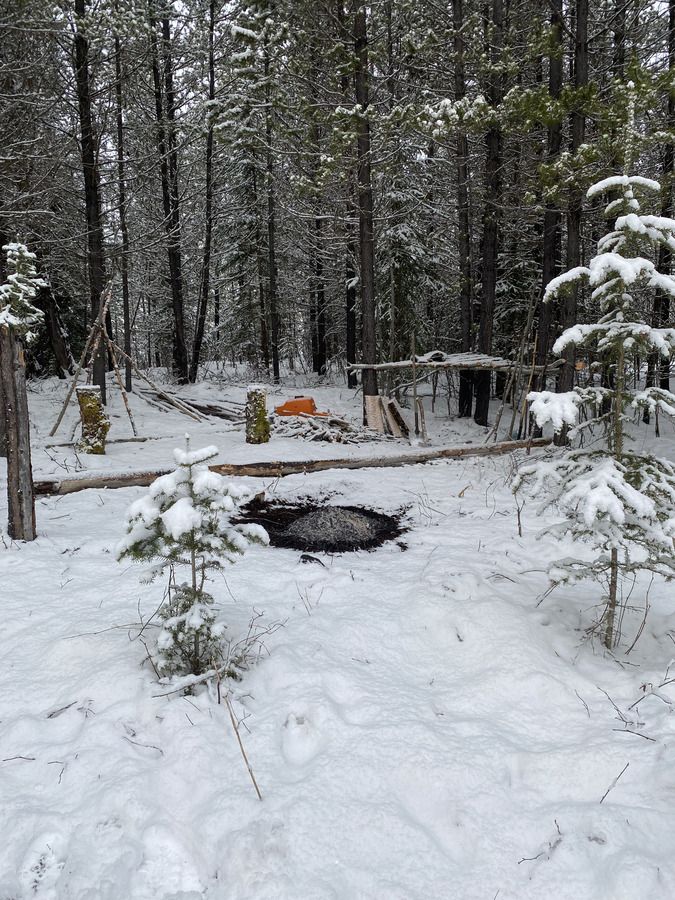
Saw Horse Saw Horse Saw Horse

The first Saw Horse

Key points

  1. No screws or nails The joints rely on the wood's own weight and precise cuts.
  2. Stability Both models held up well under the weight of sawing boards.
  3. Ease of repair If a leg ever warps, you can re-cut the joint rather than replace a whole piece.

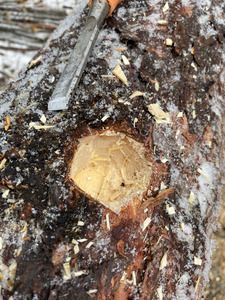
I've included some photos of the first design and three shots of the second, showing the dove-tail joint from different angles.

Second Saw Horse Second Saw Horse Second Saw Horse

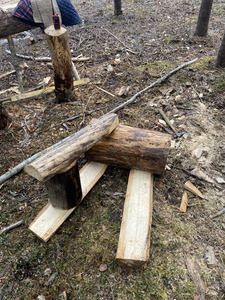
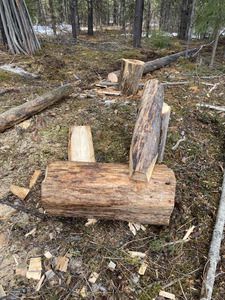
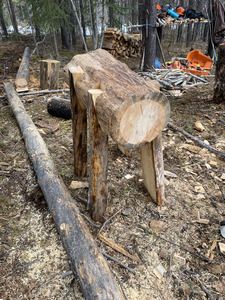
The dovetail joint shown here


With a little bit of careful carpentry, you can build a sturdy sawhorse that's entirely free of metal fasteners. The dovetail variant is my favourite for its blend of strength and simplicity. Happy building!


Share on Facebook

Tools preparation

When you're constructing a log house, keeping your tools in good shape is as important as the structure itself.

Temporary first workbench in the woods

Temporary work bench

Creating a Ranchers Hatchet

Below is a quick recap of the process I used to build a small hatchet from scratch, plus a key lesson that saved me a lot of frustration.

1. Selecting the Head

I found a nice, lightweight axe head on a Recsite (a Recreation Site in Canada) that fit my needs.

2. Making the Handle

  • Choose the wood - 1 inch birch was perfect because of its balance and grain direction.
  • Mark the outline - With the grain in mind, I traced the handle's shape onto the board.
  • Cut & Sand - I hand-cut the shape, then sanded it smooth.

Sketch of the head shape Sketch of the head shape

3. Finishing Touches

  • Olive oil was all I had, so I used it instead of linseed oil to protect the wood.
  • I shaped the axe head with an angle grinder, then sharpened and polished it before attaching it to the handle.

4. Lesson Learned

After my first use, the axe's leading edge was too soft - it bent and broke.

Rule of thumb: Always perform a ding-sound-probe (tap the edge against a hard surface and listen for a clear tone).

If the sound is dull, the iron is not worth to invest more time.


A well-finished handle + a properly sharpened edge = a reliable, safe tool.

Don't skip the sound check - your future self will thank you.


Share on Facebook

Collect dead Wood Logs

Collecting Dead - Wood Logs

My original plan was to build a cabin from 2- or 3-inch boards and a lightweight 2x6 frame. Then luck found me, just a short walk from the site, I discovered a ready supply of dead-wood logs.

A rough calculation of how many logs the first section of the cabin would need showed that a traditional log-cabin could be built entirely from the fallen timber that lay nearby.

Pulling Logs out of the forrest

I added an extra two feet to the length of each wall, marked the trees to size, and then - using two pulleys and a rope-towed all the logs to the building site.

During the operation I learned how to tie quick, strong knots and to use a three-stage block-and-tackle. Pulling the logs with our draft horse "Norm" was impossible; the logs had to be dragged over uneven ground, and there was simply no space to maneuver a horse.

In total, bringing in 40 logs took me about 8 days. The effort was well worth it. Now I have the timber I need to construct a true log cabin, right where it belongs.

Pulling Logs out of the forrest

Pulling Logs out of the forrest


Share on Facebook

Ground Preparation

I extended the trail along the ridge for an additional 400 m. It was hard work, especially in March when there was still a couple of inches of snow.

For the past few years I've been hunting for the perfect spot to build a cabin - something quiet, surrounded by trees, and far from the hustle of town. After several visits, I finally pinned down the exact dimensions and could start visualising the finished structure.

Alot of branches laying around in the woods

1. Finding the Site

I scouted the area until I found a small clearing that would comfortably fit the cabin's footprint. I measured the lot, drew the layout on paper, and marked the future entrance and door placement. View from the imaginary cabin's spot

2. Clearing a Path

The only way in was a thick stand of forest. In March, when a thin layer of snow still clung to the ground, I set out to clear a path.

  • Saw-mill and Trail
    I passed the old sawmill at the edge of the woods and followed the old trail, which led me up the ridge.

  • Brush-saw
    Using a brush-saw, I cut through the underbrush and low branches, clearing about 400 m of trail. The work was exhausting, but the fresh scent of pine and the crunch of snow underfoot made it worthwhile.

To create space for the cabin, I had to remove about six green trees that were standing directly in the spot.

The ground was not exactly level. I did some digging to make it pretty flat. While leveling, I separated branches, moss, dirt, gravel, and large stones.

Already burnt branches

The entire process took me about two days.


Share on Facebook

I enjoy the surrounding in the Forrest

From my perch beside the freshly cleared trail, I watched the woods breathe while you hammered and sawed, my tail wagging with every new scent that drifted in.

Sam laying in the snow

Browsing squirrels became my afternoon parade, while you nodded in concentration, and I snorted approvingly whenever you tossed a treat.

Sam laying in the snow

When the day turned cool and the snow began to fall again, I settled in the patch of grass next to you, content that I'd helped you build a home and that I'd earned a bite of your reward.


Share on Facebook